Laundry Room Progress Report: Plumbing
/Both Josh and I consider ourselves DIY enthusiasts, but trust me when I say, every DIYer has their limits. Plumbing is ours. The risk of having leaky pipes behind the wall and the fear of being on a USAA flood insurance commercial is just not a risk we’re willing to take. We’d feel way more comfortable with a professional doing the work … plus, let’s be honest, do you really think I’m getting into that crawl space?? TUH! After searching for MONTHS we finally found an amazing plumber to give our laundry room a more conventional and updated look. But first, let’s take a step back shall we?
The plumbing situation in our laundry room was pretty outdated (no surprise there) so we decided to give our washer machine plumbing a complete update as well as repair the one major issue we were having, which was an overflowing drain. Here’s what we learned about what was wrong with our old setup:

The drain pipe was too small (1 1/4 inch). Which explains why every time we washed clothes water was being forced OUT of the drain and onto the floor! You can see the damage that was done to the floor around the waste drain. From my understanding, the smaller drain pipe was okay for older washer machines back in the day, but the requirements now are 2 -3 inch pipes, which is necessary to handle the faster draining of more modern washers.

We need a vent. I’m probably not the best person to explain this, but from my thorough research (Google), I learned that the purpose of having a vent is to allow air to enter the waste drain and equalize the pressure when water drains out. Our neighbor McGyvered a SINK vent onto the drain lol as a temporary solution until we found a plumber, and surprisingly it eliminated our water spillage issue. Visually though, it looked a hot mess and this isn’t a blog about hot messes. I’m in the business of making things look pretty so we needed a better solution.
Which brings us to today.


We spent months searching for and getting quotes from multiple plumbers and plumbing companies (so frustrating), when FINALLY we stumbled upon Calvin’s Repair Plumbing thanks to a mid-day Facebook stalk session.
Our plumber, Nick, was super knowledgeable, affordable, on time, and cleaned up any mess he made. He even answered our late night call of despair when Josh accidentally caused a water leak when he was patching the drywall. He mistakenly drilled a screw through the PVC pipe. The rest of the scene involved ALL the towels in our home, buckets, using a trashcan as a bucket, someone yelling “Call 911” … it was chaos lol. Luckily our same neighbor that McGyvered the sink vent reminded us about our emergency water shut off valve (duh! don’t judge us, first time homeowners here). The night ended with us cleaning up water and Josh running out to Lowe’s to determine how to fix his mistake. Which he did fix! He repaired the damaged PVC pipe that night, confirmed with Nick over the phone that the repair was legit, and all is right at Wellington.

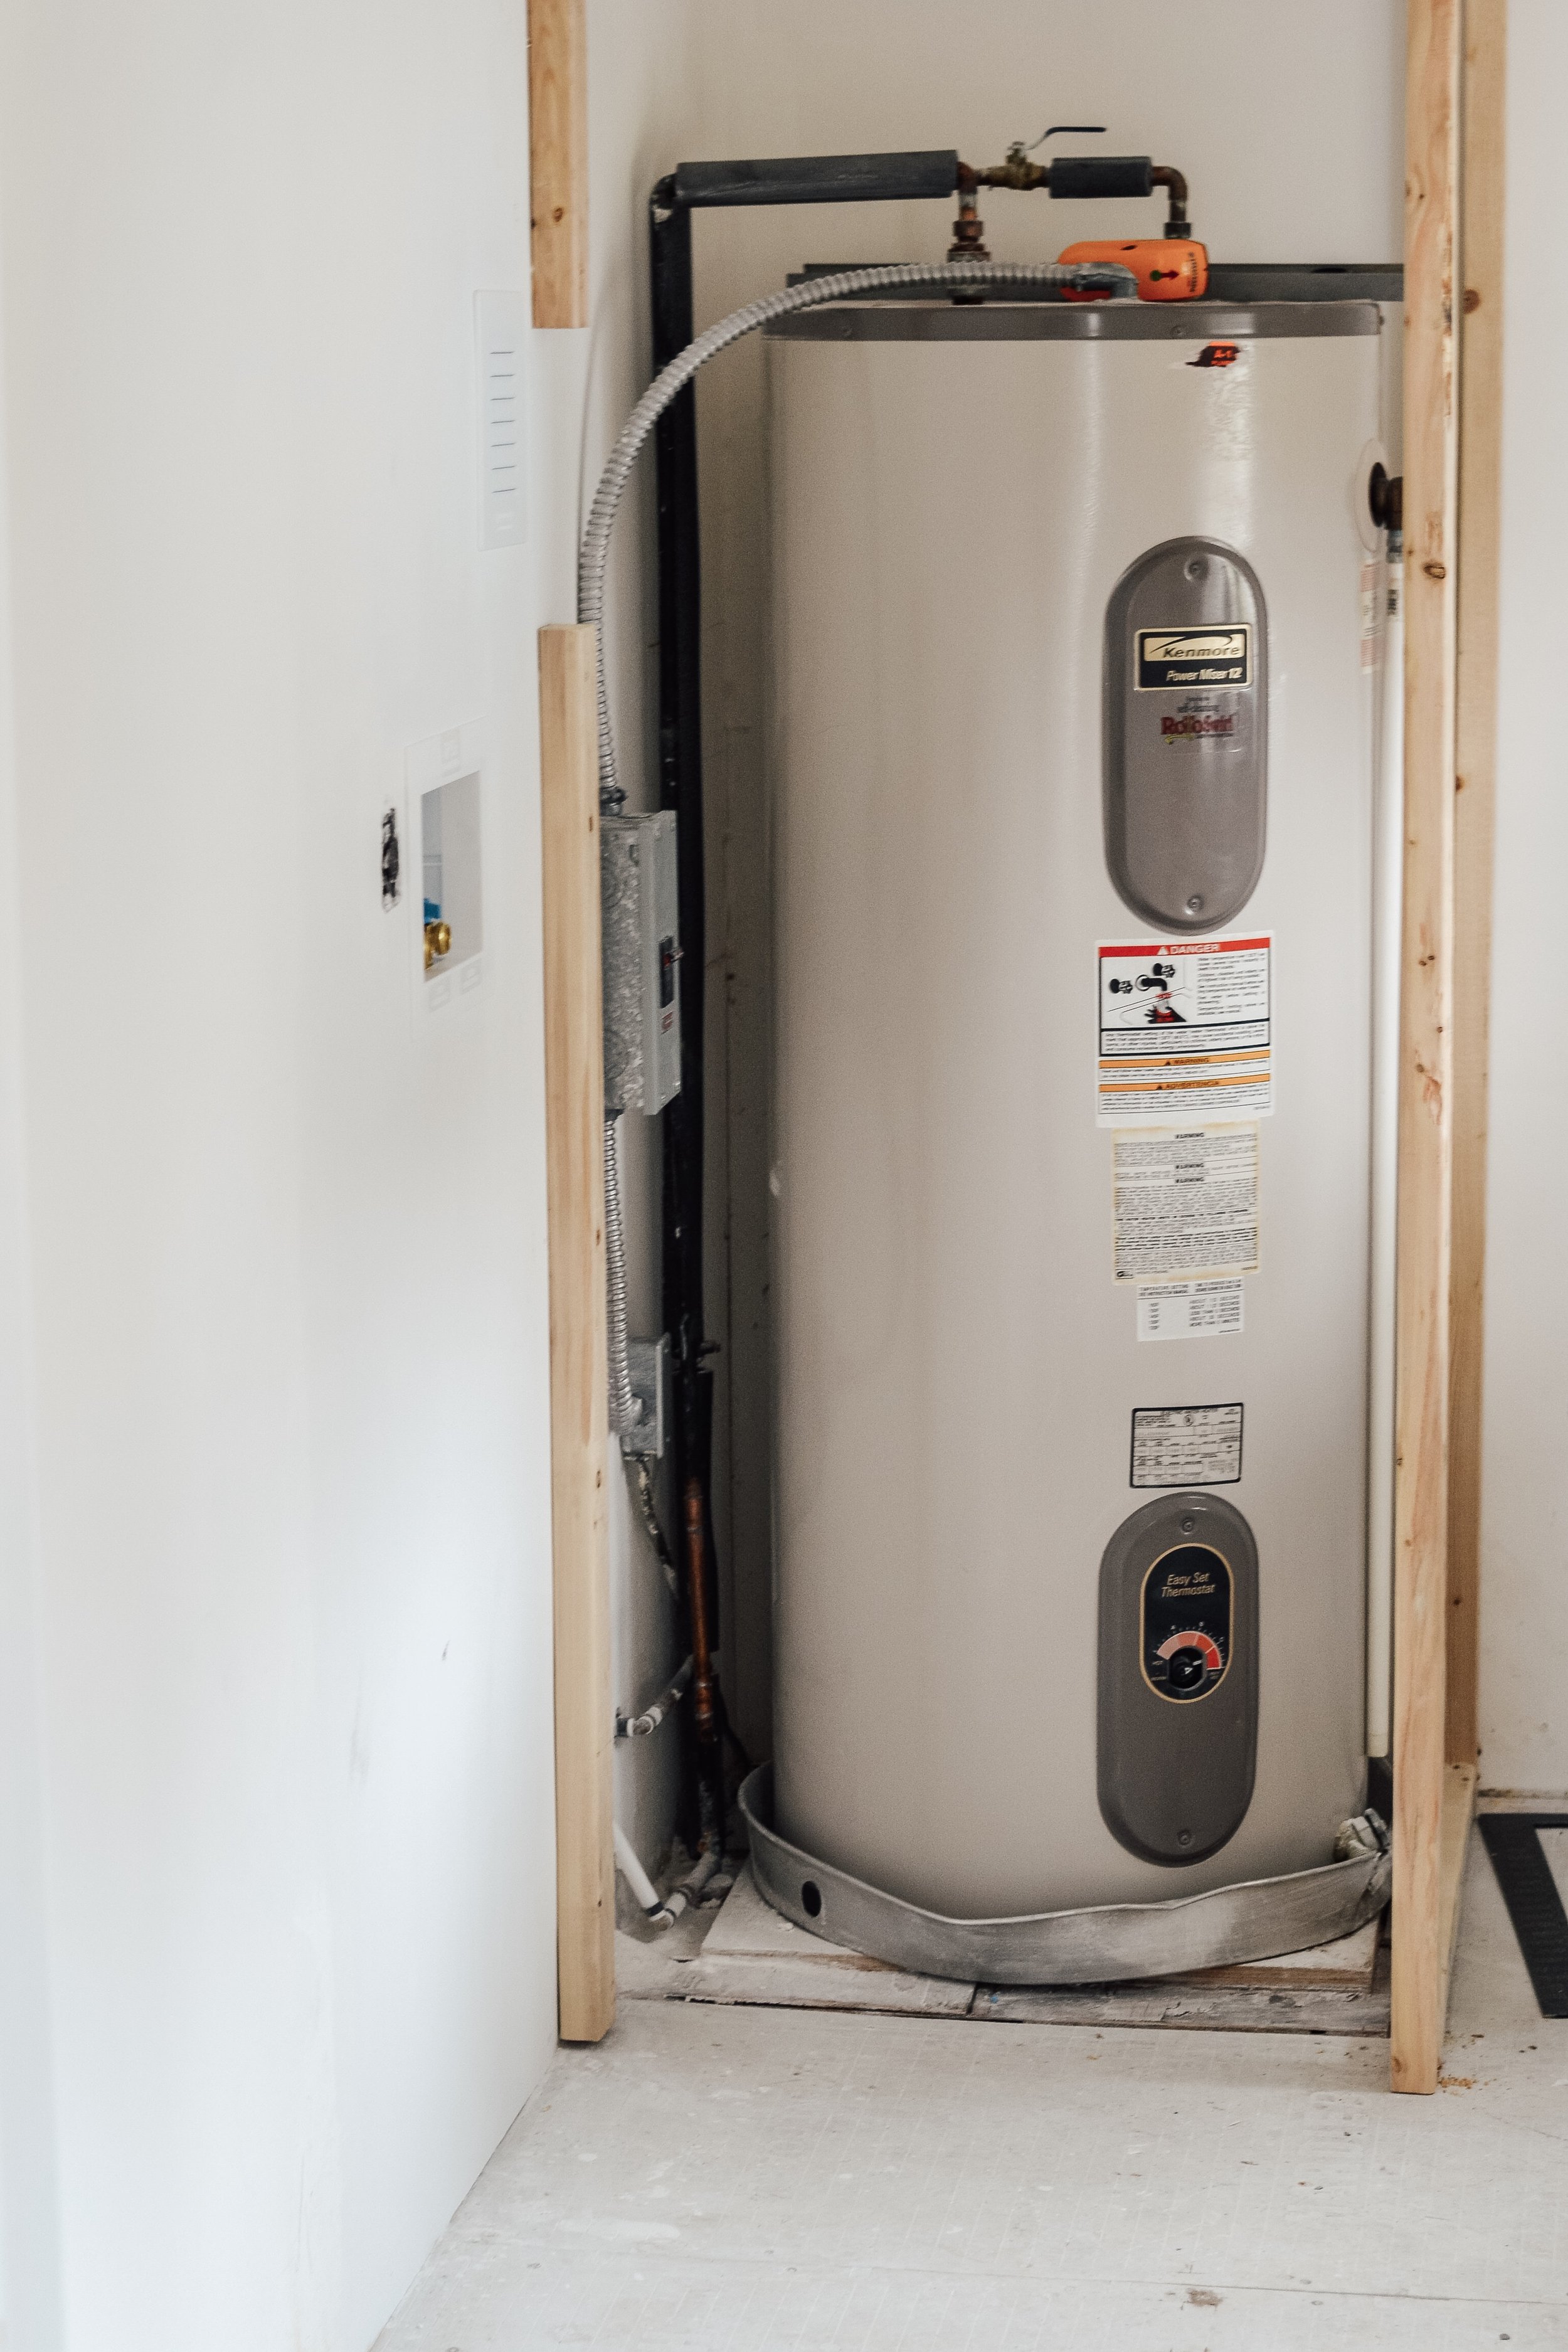
The addition of the washer box gives the area a more seamless look. Oh and surprise! We started framing the DIY “closet” to hide our hot water heater. Follow along on instagram @heytheretoots to watch us work in real-time.

Yay for having a proper venting system, which is tucked away nicely and concealed in the wall.

And now that we have the plumbing lines recessed, we can push the washer machine closer to the wall and gain just a few extra inches of space. Since this room is so small, we’ll take any space we can get.
B E F O R E

A F T E R
This angle looks a whoooole lot different, right?
If you’re in the area and are looking for a plumber, I highly recommend Nick at Calvin’s Repair Plumbing.


